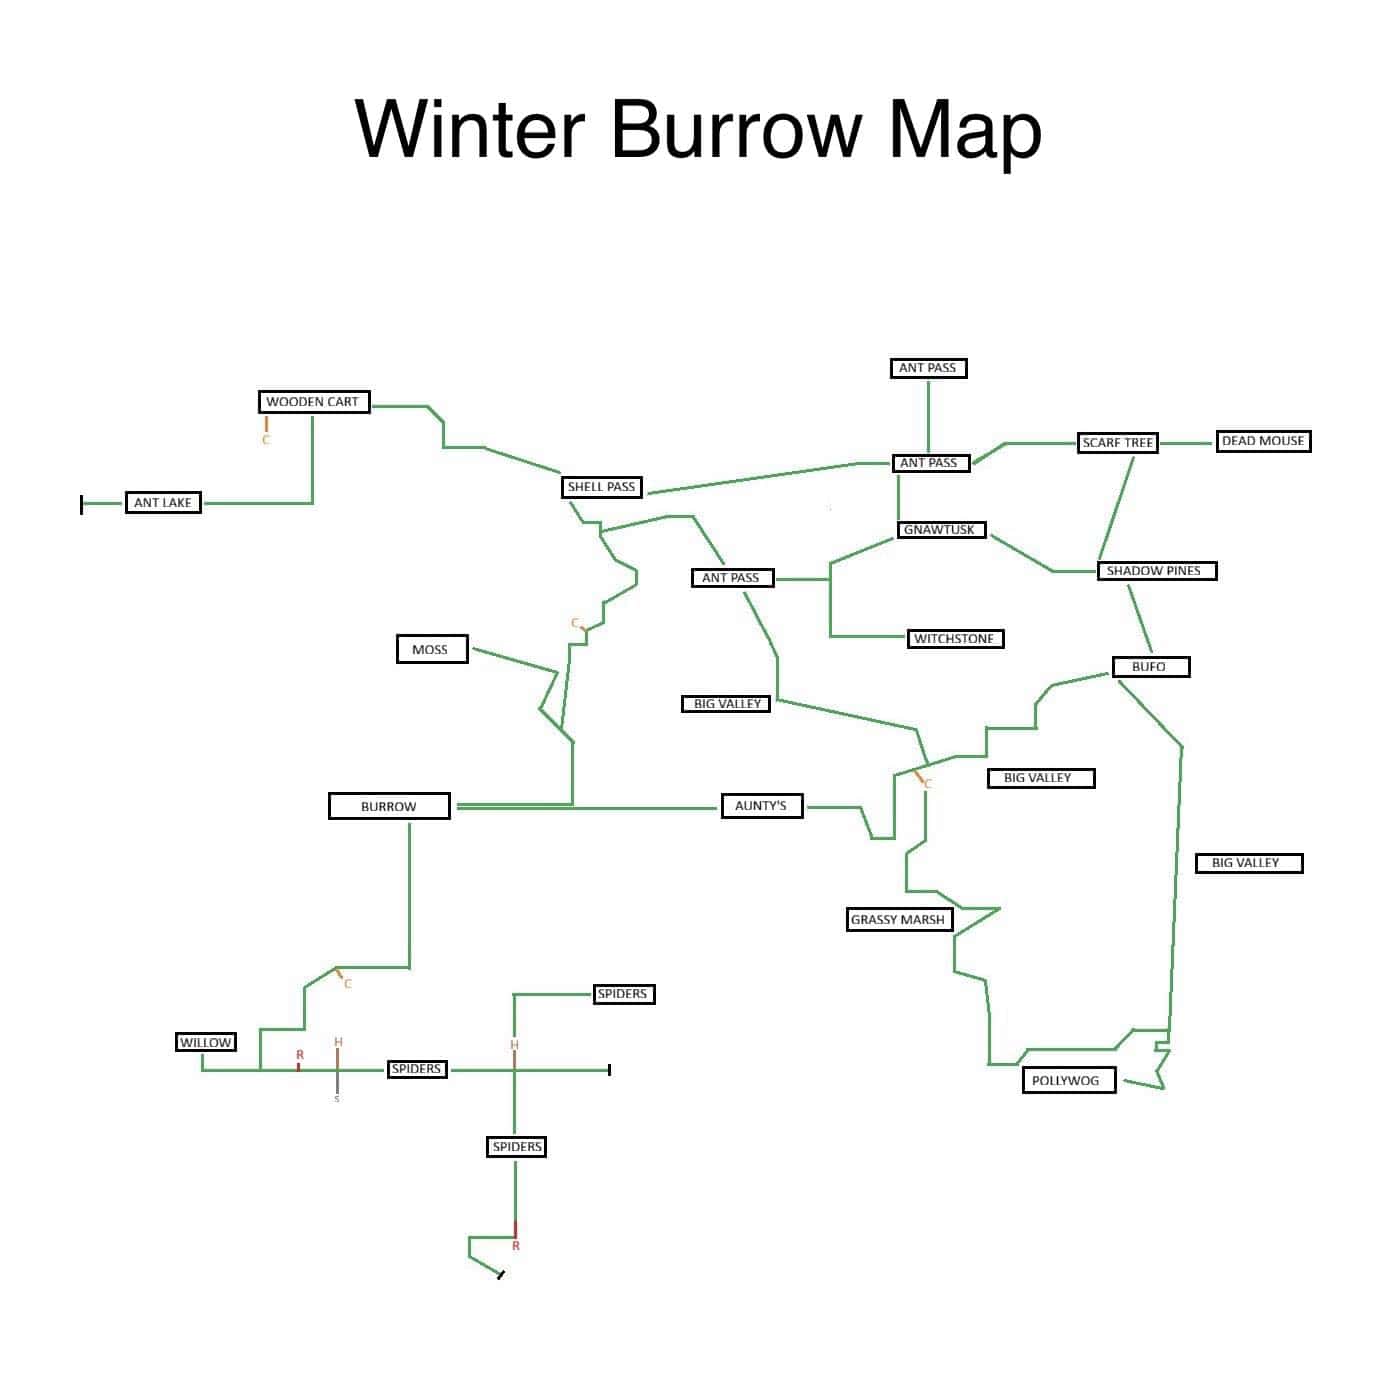
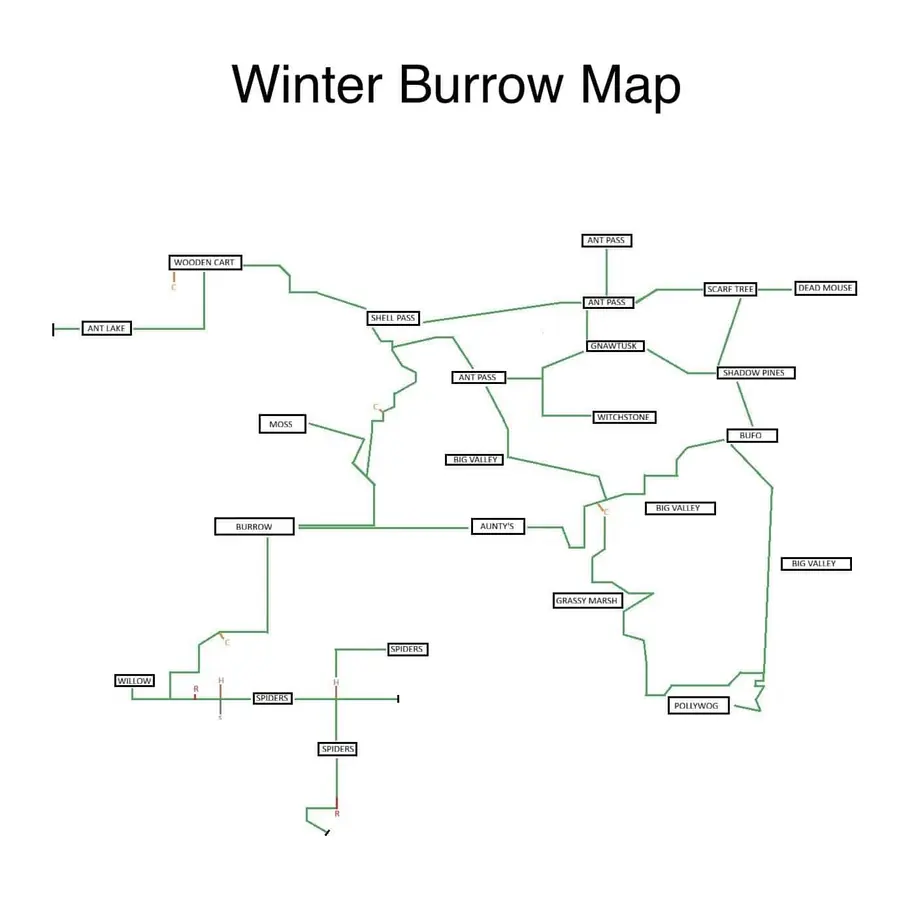
World anchor (community map). Open local file for full size.
01
Guide Step
Start at the Burrow and Follow the Active Objective
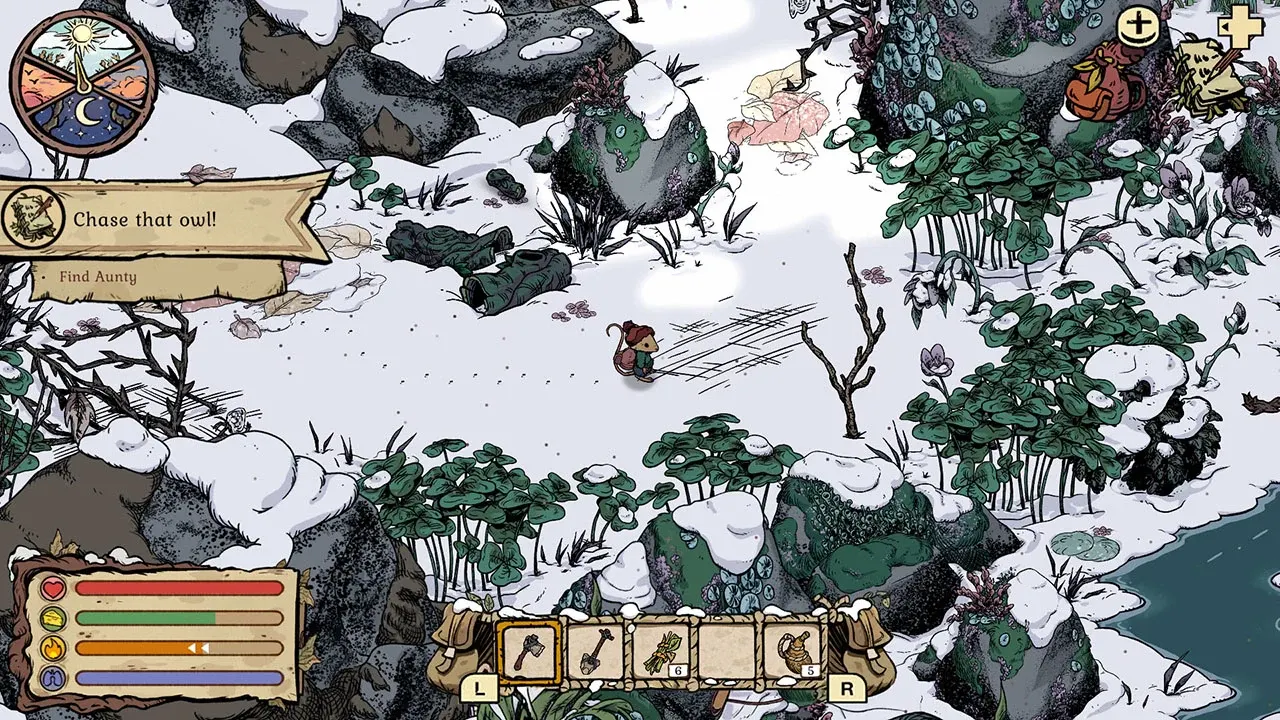
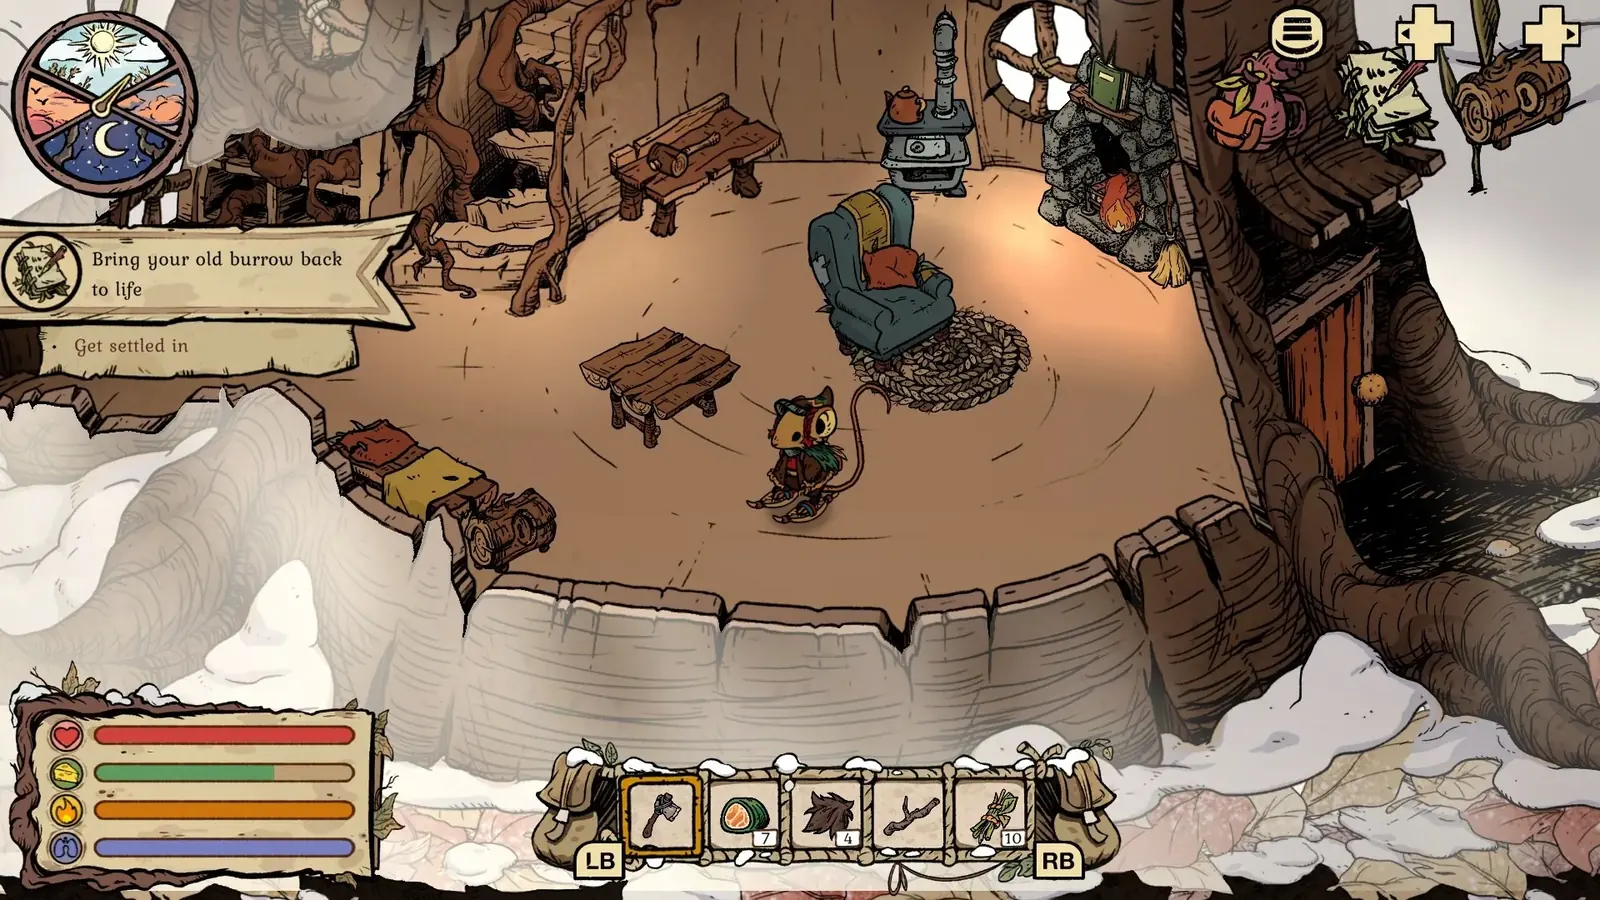
Treat the journal and HUD as the source of truth for the next story action. The opening teaches gathering, repairing, cooking, knitting, and returning home; do those tasks in the order the game presents instead of collecting an entire region before the systems are unlocked. When the owl incident moves the story toward Aunty, follow that objective and use the visible route rather than a memorized material list from an old guide. Talk to Aunty again after a repair or delivery because new dialogue often controls the next recipe, NPC introduction, or route gate. Before every longer trip, sleep if needed, empty unrelated items from the backpack, and keep one slot open for the quest object.
Read the current objective before gathering materials.
Return to Aunty after the HUD marks a step complete.
Use the burrow as a storage, crafting, and session checkpoint.
Do not assume a route gate is broken until the relevant NPC dialogue is complete.
The visible objective is the reliable starting point for story order. Source: Nintendo / Pine Creek Games official gameplay.
02
Guide Step
Aunty and the Owl: a Progress Gate, Not a Search
Early on, an owl carries Aunty off and your objective becomes Find Aunty. This is the point where the most players stop, and it is worth understanding why before you spend an evening on it.
You cannot find Aunty. There is no owl nest and no hidden screen holding her. The rescue is a cutscene that fires once you have worked through Gnawtusk's errands, and it returns her to your own burrow, ill. So when the HUD says Find Aunty, read it as "advance the chain", not "go looking". The chapter opens with a broken bridge east of the burrow that needs 5 Beech Planks and 5 Flax Rope, and it contains one navigation trap: after heading north from Bufo you must go left, to the west, or you miss Gnawtusk entirely and the chapter appears to dead-end.
Find Aunty is a progress gate, not a location. The rescue is a cutscene.
Broken bridge: 5 Beech Planks and 5 Flax Rope, crafted at the Woodworking Workbench.
North from Bufo, then LEFT (west) - going right misses Gnawtusk and stalls the chapter.
Aunty comes back ill; the last herb stash is in her backpack on your burrow floor.
03
Guide Step
Bufo: Confirm the Request Before Testing Pickaxe Gates
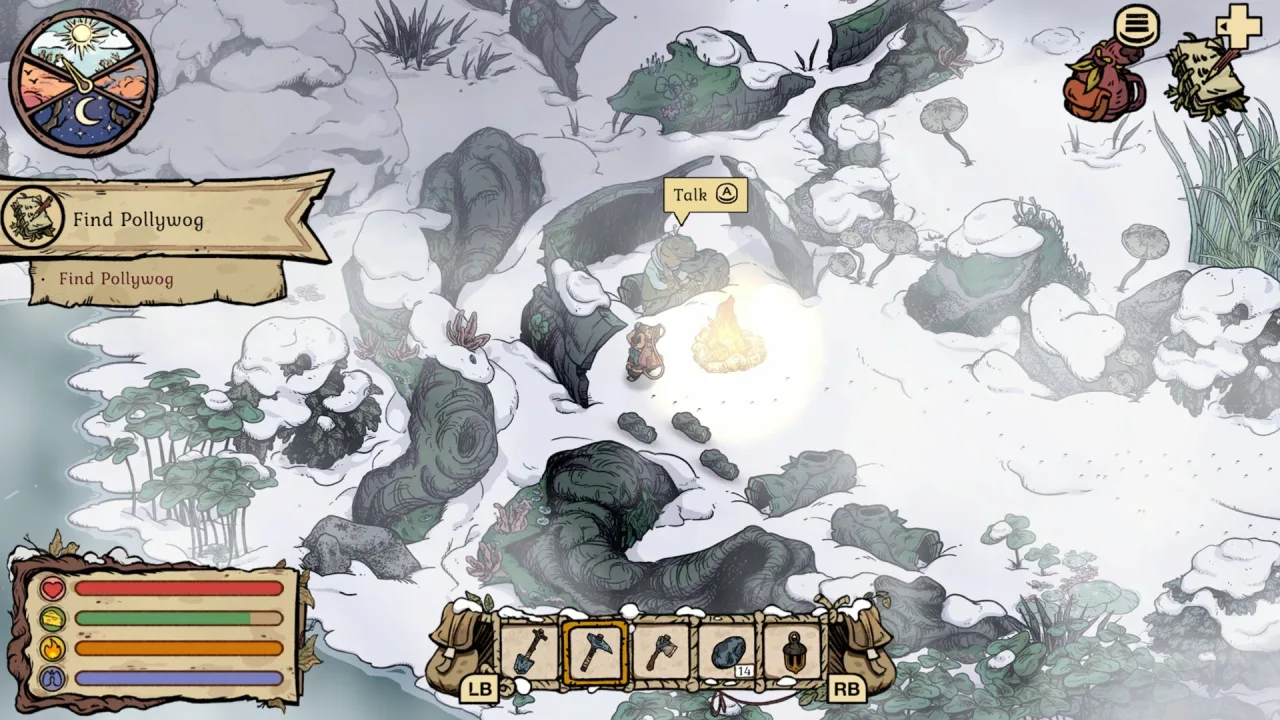
Bufo is the central checkpoint for early Pickaxe progression and the Pollywog rescue. Speak to him, read the requested delivery, and verify that the item counter updates before trying nearby rock gates. The first Pickaxe state and the later Granite Pickaxe state are different; repeatedly striking a Granite boulder with the wrong tool will not advance the story. Once Find Pollywog appears, stop treating the task as a broad map search. Use the dedicated Pollywog route, which identifies the shoreline entrance, Granite-gated hollow log, broken-log sequence, and final campfire. Finish the conversation beside Pollywog, check the objective update, and report back to Bufo before expecting the next tool or resource step.
Match the current Bufo request to the HUD counter.
Return to Bufo after the rescue instead of continuing to farm the area.
This Talk prompt is the route completion signal; finish it before returning to Bufo.
04
Guide Step
Moss: Separate the Heavy Key, Hood, and Pinesap Objectives
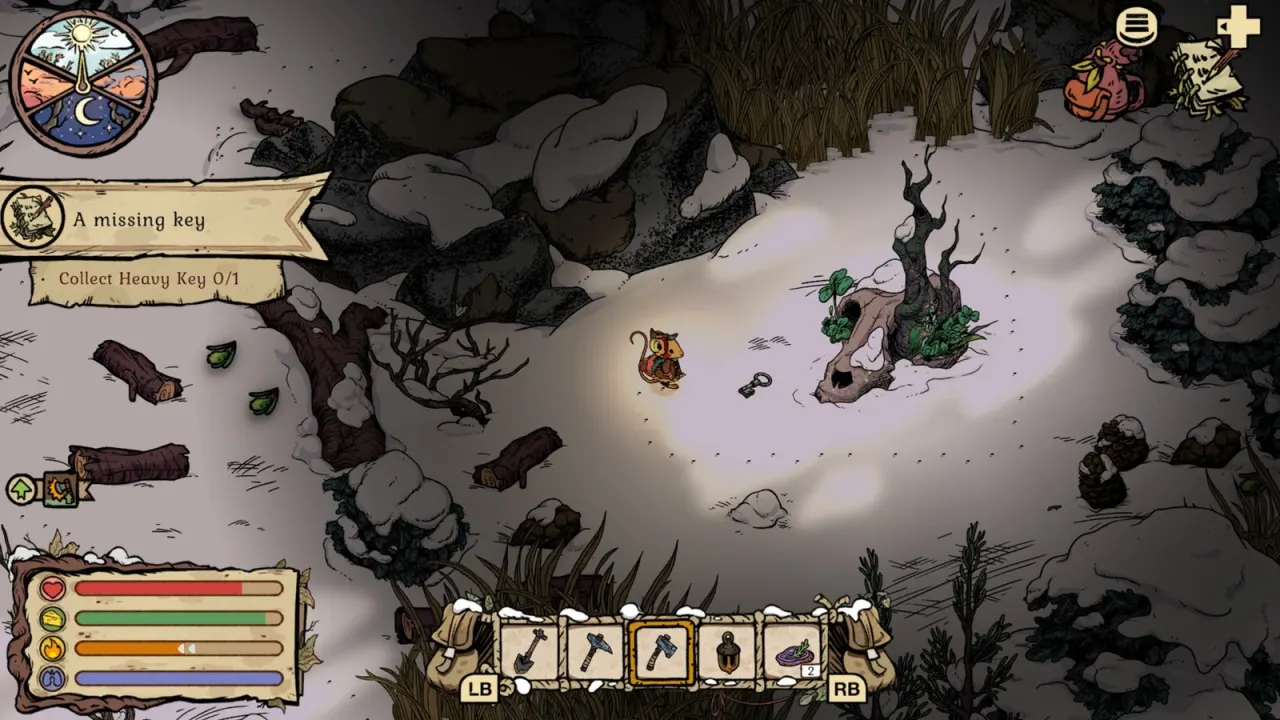
Moss has several objectives that reuse parts of the same region, which makes old directions easy to mix together. Follow the exact wording on screen. The Heavy Key step uses the skull landmark and a vine-gated route. The Fine Woollen Hood is a later pickup reached through the caravan route. Pinesap becomes relevant after that chain and requires the final Flint-boulder check rather than a generic search of every pine tree. Use the Heavy Key page for the key, the Fine Woollen Hood page for the clothing pickup, and /articles/winter-burrow-pinesap-guide only when that objective is active. Returning to the correct specialist page prevents a valid landmark from being attached to the wrong stage of Moss's story.
Heavy Key: verify the active key task and skull landmark.
Fine Woollen Hood: follow the verified vine and abandoned-caravan route.
After each pickup, confirm the next Talk objective before leaving the region.
The skull and visible key identify the Heavy Key stage; do not reuse this landmark as a Pinesap endpoint.
05
Guide Step
Willow: Notebook, Shovel Tunnel, Then Mole Artifact
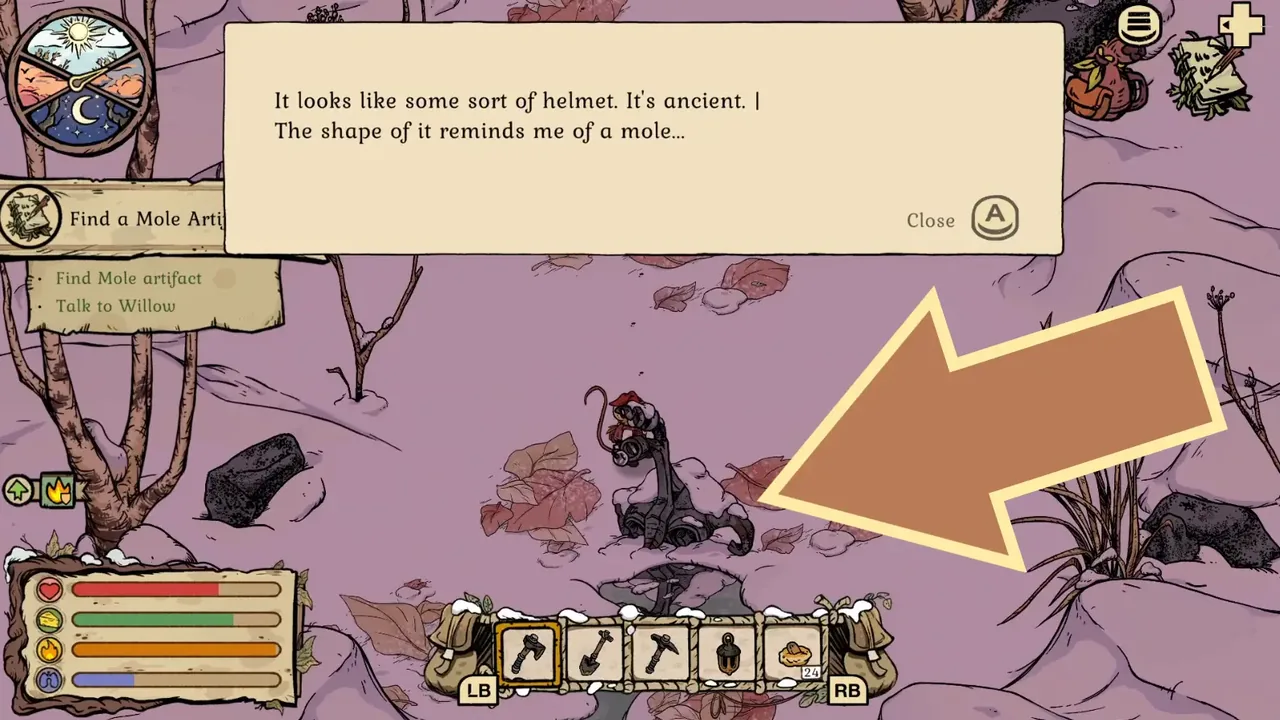
Willow's chain is easiest when treated as separate verified states. First, meet Willow and complete the notebook hand-in. Next, follow the Flint Shovel and home-side tunnel objective; the correct dig and inspection steps are covered by the Shovel and Tunnel guide. Do not search the spider thicket for a helmet before Find a Mole Artifact appears. When it does, use the dedicated Mole Artifact guide: leave Willow by the bird-nest side, cut the green vines with the Flint Axe, pass the spider area, move down through tall grass, and inspect the grey helmet at the dead end. The completion signal is Find Mole artifact turning green and Talk to Willow appearing. Return immediately for the hand-in and reward state.
Notebook still held: return it before searching for a tunnel.
Tunnel objective active: use the home-side shovel route and inspect the opening.
Artifact objective active: use the bird nest, vines, spider, and tall-grass dead end.
Use the dedicated Mole Artifact guide for the exact screenshot sequence.
The helmet inspection and new Talk to Willow objective confirm the late Willow route is complete.
06
Guide Step
Use Home as the Checkpoint Between Story Routes
After a major pickup or NPC conversation, return home before starting another quest family. Store materials, check new recipes and furniture unlocks, read the journal again, and confirm Steam or platform save status when you are ending a session. This prevents two common problems: carrying a quest reward into an unrelated dangerous route and following an old objective after a hand-in changed the story. The burrow is also where you can compare tool state with the route you plan to attempt next. If the journal names Granite, Flint, a tunnel, Heavy Key, Pollywog, or Mole Artifact, open that focused guide before packing rather than forcing the complete walkthrough to act as a screen-by-screen map.
Deposit unrelated resources and keep one open slot.
Check newly unlocked recipes or furniture after each hand-in.
Read the updated journal before selecting the next route.
Use sleep and platform save indicators as observable session boundaries.
The home sleep prompt is a clear place to stop, reorganize, and verify the next objective before another route.
07
Guide Step
When a Route Appears Blocked
A blocked route is usually a state check, not a reason to search the whole map again. Read the object in front of you and classify the problem. A blue-grey Granite boulder needs the Granite Pickaxe; a darker Flint boulder needs the Flint Pickaxe; thick green vines use the Flint Axe; a tunnel may depend on Willow's notebook and shovel sequence; a named key or artifact should not appear until its quest is active. If the correct tool does nothing, return to the last NPC, inspect the workbench or journal, equip the tool in the active slot, and test one known blocker. Avoid changing several variables at once because you will not know which missing state was responsible.
State second: verify NPC dialogue, recipe, crafted tool, and active objective.
Route third: test one documented landmark and one blocker.
If spiders are uncomfortable, set the Spiders option to No in Settings before Willow routes; /articles/winter-burrow-spiders also covers getting silk without fighting.
08
Guide Step
How to Use This Walkthrough Without Spoiling Every Screen
Use this page to identify which NPC chain and tool gate comes next. Switch to a focused route guide only when you reach a physical blocker. That keeps the story readable while still giving exact help where wandering would waste time. The linked pages contain real screenshots for Pickaxes, Granite, Flint, Pollywog, Heavy Key, the Fine Woollen Hood, Pinesap, Willow's tunnel, and the Mole Artifact. After solving the blocker, return here and continue with the next NPC state. This layered approach is more reliable than one enormous route list because updates can change map support, storage, controls, or travel without changing every story relationship at once.
Searches for Chapter 1 and how long Winter Burrow takes to beat usually describe the same early need: knowing which objective is next without committing to a blind long run. There is no official fixed hour count; the dedicated length page is /articles/winter-burrow-how-long. Use the active journal and /articles/winter-burrow-map-guide to measure progress by completed NPC states, then return home after Aunty, Bufo, Moss, Pollywog, or Willow changes the objective. Open the Pickaxe, /articles/winter-burrow-pinesap-guide, or Mole Artifact guide when the blocker becomes a tool or exact landmark rather than a story-order question.
Chapter 1: finish the active Aunty/Gnawtusk chain before searching for a hidden Aunty location.
Long route: leave in daylight, light a campfire, and keep one backpack slot for the objective item.
Next checkpoint: read the new HUD text after each hand-in before following an older video route.
10
Guide Step
Ending the Story and Choosing the Next Guide
The walkthrough ends at the same checkpoints that define the route: complete the active NPC hand-in, verify the new HUD text, then return home before starting another quest family. After the Moss chain reaches Pinesap, use /articles/winter-burrow-pinesap-guide for the Flint-boulder gate and the return to Moss. After Willow's Mole Artifact hand-in, finish the later dialogue and Hazelnuts For Willow steps before using the achievements guide as a separate completion checklist. There is no need to turn this story-order page into a location index: use the map guide when you are lost, the Flint or Pickaxe guide for a tool gate, and the focused tunnel pages when the question is a shortcut or a Willow quest state.
Willow ending: complete the Mole Artifact hand-in, backpack design state, and later Hazelnuts For Willow dialogue.
Quest finished: return home, store the route items, and read the next objective before continuing.
Exact location or shortcut question: leave this walkthrough for the focused guide that owns it.
11
Guide Step
Granite Pickaxe searches belong to the focused Granite guide
If the active objective is Granite, Granite Pickaxe, or a rock that will not break, leave this story-order page and use /articles/winter-burrow-granite-guide. This walkthrough only tells you when the story state changes. Pickup areas, loose chunks, and boulder checks stay on that Granite guide.
Story order: return to the active NPC and confirm the HUD objective here.
Follow the active journal through Aunty and Gnawtusk, Bufo and Pollywog, Moss and Pinesap, then Willow and the Mole Artifact before the final restoration. Switch to a specialist guide when a tool or exact landmark becomes the blocker.
Is Find Aunty a location in Chapter 1?
No. Find Aunty is a progression gate that advances after the Gnawtusk chain; it is not a hidden nest or a map pin.
How long does Winter Burrow take to beat?
There is no official fixed completion time. Use How Long Is Winter Burrow for the hour-count question, then track completed objectives here rather than a guessed hour count.
Which guide should I use when a route is blocked?
Use the Granite guide for rock tiers, the Pinesap guide for that active objective, the Shovel and Tunnel guide for the home-side tunnel, and the Mole Artifact guide only after its HUD task appears. Platform questions go to the Switch or PS5 pages. Official community chat is on the Discord page.